Ford 100 Garden Tractor Restoration: A Comprehensive Guide
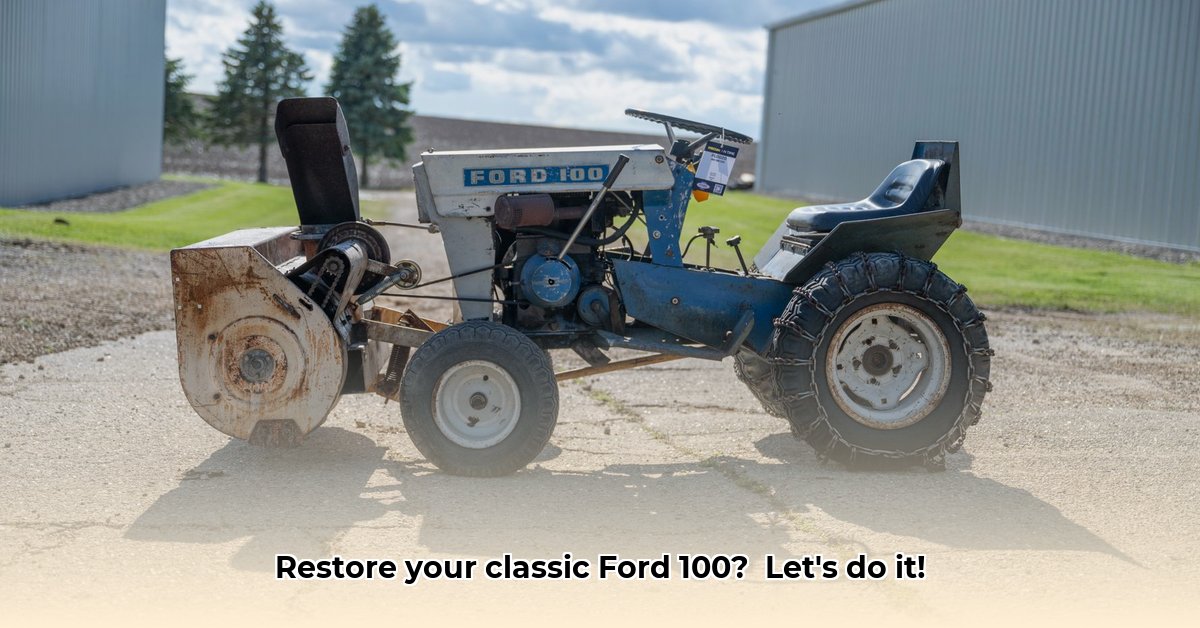
Ready to breathe new life into your classic Ford 100 garden tractor? Manufactured by Jacobsen for Ford between 1966 and 1971, this machine deserves the care and attention needed to bring it back to its former glory. This guide provides a step-by-step approach to restoration, blending historical context with practical, actionable advice. For more Ford tractor resources, check out this helpful website: Ford Tractor Resources.
Three Pivotal Points for Your Ford 100 Restoration:
- Accurate Dating: Determining the manufacturing year is crucial for parts sourcing and understanding its history. Serial numbers, online resources, and visual comparisons with known models are key.
- Engine and Transmission Overhaul: These are the heart of your tractor. A meticulous overhaul, involving careful disassembly, cleaning, inspection, and replacement of worn parts, is essential for reliable performance.
- Strategic Parts Sourcing: Finding parts for a vintage tractor can be challenging. Utilize online marketplaces, specialized suppliers, and restoration forums to locate necessary components.
Identifying Your Ford 100: Unlocking the Secrets of Your Tractor
Pinpointing the precise year of your Ford 100 can be tricky, as factory records are not always complete. However, identifying your model is the first step towards a successful restoration.
1. Deciphering Serial Numbers: Both the Kohler K241 engine (the workhorse of the Ford 100) and the tractor's chassis will have unique identification numbers. Online resources and vintage tractor forums should be used to cross-reference these numbers, often providing valuable clues to its age. Remember: even experts sometimes debate exact years!
2. Visual Clues: While not definitive, the tractor's hood color may offer hints. However, rely on serial numbers as the primary method.
3. Community Expertise: Online forums and social media communities dedicated to vintage tractors provide invaluable knowledge and support. Engage with other Ford 100 owners and enthusiasts to determine aspects of dating. They can offer insights into subtle variations that indicate the year.
Gathering Your Tools and Parts: Preparing for the Restoration
Before starting any work, gathering your tools and parts is essential, establishing a solid foundation for your project. This will save time and headaches during your restoration.
1. Essential Tools: Assemble a comprehensive set of tools which should include the following: wrenches (metric and standard), screwdrivers (Phillips and flathead), sockets, pliers, and potentially specialized tools for your tractor’s engine and transmission. The need for specialized tools will depend on the aspects of your tractor that are being repaired or replaced.
2. Parts Sourcing: This might prove to be the most demanding aspect of the restoration process. Online forums, vintage tractor parts suppliers, and even junkyards can be valuable sources. Maintain detailed records of parts obtained, to prevent duplication and to ensure all necessary parts are obtained before beginning any work.
"Finding the right parts can be a treasure hunt," says John Miller, a veteran tractor restorer with over 30 years of experience.
Engine Overhaul: The Heart of the Restoration
The Kohler K241 engine is the powerhouse of your Ford 100. An engine overhaul will likely be necessary. This is a significant undertaking that requires patience and attention to detail.
1. Careful Disassembly (Step-by-Step): Methodically disassemble the engine, taking detailed pictures or making comprehensive notes at each step. Label every piece thoroughly.
2. Deep Cleaning: Once fully disassembled, thoroughly clean all parts. Use appropriate solvents and brushes, ensuring that every part is free of debris and contaminants.
3. Component Inspection & Replacement: Inspect each part carefully for any cracks, wear, or damage. Replace any worn or broken parts. Using quality parts is crucial for long-lasting performance.
4. Meticulous Reassembly: Carefully reassemble the engine, referring to your service manual or diagrams created during the disassembly process.
5. Testing and Performance Tuning: Start the engine and carefully observe performance. Listen for any unusual noises and check for leaks.
Transmission Restoration: Ensuring Smooth Operation
The transmission is another critical component. This is a similar process to the engine overhaul:
Careful Removal: Gently remove the transmission.
Systematic Disassembly: Methodically disassemble it, noting each step, and taking photographs throughout the process.
Thorough Inspection and Cleaning: Inspect and clean all parts.
Repair or Replacement: Address any damage. New seals and gaskets will maintain a leak-free system.
Precision Reassembly: Carefully reassemble the transmission.
Reinstallation: Reinstall the transmission ensuring proper alignment.
Troubleshooting Common Issues: Addressing Potential Problems
- Electrical Problems: Corrosion is a common issue in older tractors. Check wiring, connections, and replace damaged parts.
- Attachments: Parts for attachments can be hard to find. Research thoroughly.
- Rust and Corrosion: Address rust using appropriate treatments.
The Finishing Touches: Restoring Your Ford 100 to its Former Glory
Once the mechanical work is complete, focus on the cosmetics. A fresh coat of paint and replacement decals will restore your Ford 100 to its former beauty. This will also give you a chance to appreciate the final outcome of your project.
Remember: Restoring a Ford 100 is a rewarding project that requires patience, persistence, and attention to detail. The satisfaction of bringing this piece of history back to life is unparalleled.